Step 1: Observational drawing
Using books and/or the internet, have students find two or three clear pictures of their sea creatures, possibly from different angles or sides. Many science museums or nature centers provide three-dimensional plastic or taxidermic animal models for classroom use. Explain that scientific drawings are meant to be as accurate as possible. Students will use their various reference materials to create a very careful observation drawing. Have them start by sketching the general shapes of the sea creature outline. Next, add texture and details. Encourage students to look closely and sketch lightly with pencil. Students should draw at least 3–5 versions of their creature in order to choose the best one for their research card.
Extra Time? Ask students to zoom in on one smaller part of their animal and sketch only that part. “Can your classmate guess which part you drew?”


Step 2: Gallery walk
Have students lay all their drawings out on their desks and ask the class to follow you around the room in a gallery walk in order to look at everyone’s work (make sure you lead the way). Once everyone is back at the starting point, gather in a circle and reflect: Which drawings stood out for their attention to detail? How many different sea creatures did they see? What did they notice in the drawings they would like to share? Are there drawings you think belong on research cards? Why?
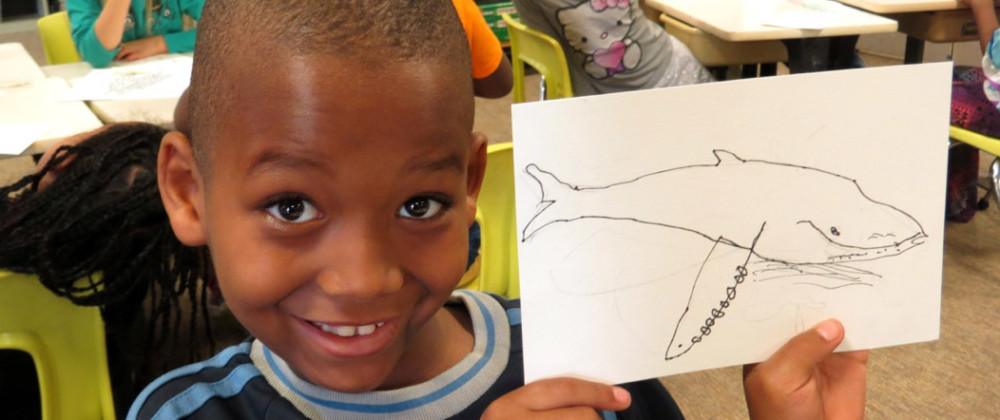
Step 3: Research cards
Have students choose from their five drawings the one they want to put onto a 4”x6” piece of card stock. They should carefully re-draw the chosen illustration onto the card stock and then outline it using a permanent fine tipped black marker.
On the other side of the card, have the students write the answers to their assigned animal research questions using complete sentences.
Once finished, ask each student to show and read their research card to the class.
You must be logged in to post a comment.