Set Up:
- Push all tables, desks, and chairs to the edges of the room.
- Clean the floor.
- Having students take their shoes off is ideal, as long as the floor is not too slippery with just socks on. Leaving sneakers on would be OK. Teachers can use discretion with this suggestion.
- Meet in a large circle.
Step 1: What is physical theater?
Define “physical theater” with the group. Summarize it as:
Showing a story or idea to an audience without using furniture, props, or costumes. Just people.
Talk about how you will be connecting physical theater to the classroom curriculum. For example, learning about a historical event, civil rights, or math, and then creating a story about the topic to perform for an audience.

Teaching Tip: Ask the students to memorize the room set up on the first day. Let them know that this will be the room set up for each day. They can now take the lead on getting the room ready before each physical theater session.
Teaching Tip: Detailed descriptions of all physical theater activities are included at the end of the unit in the teacher resource section.
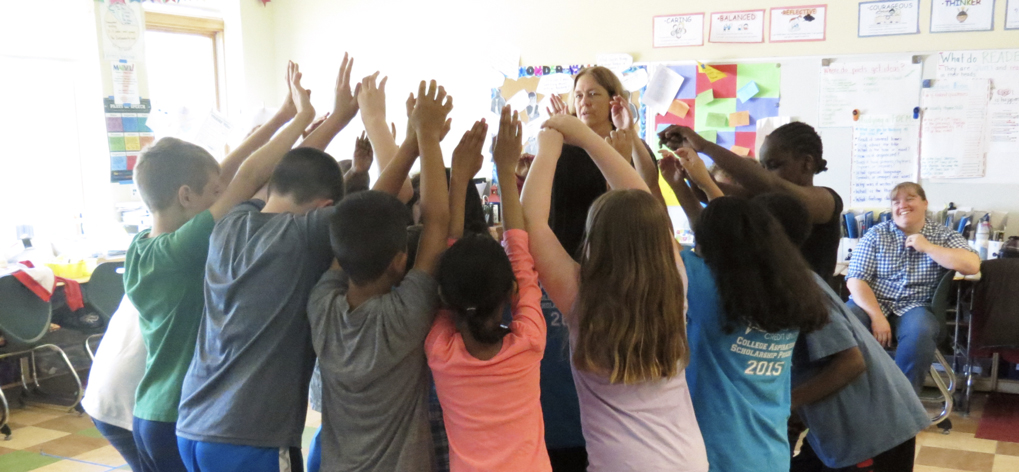
Step 2: Warm-up activities
Have each student find a spot, leaving space around them, where they are able to see the teacher clearly.
- Echo activity: students intently listen and focus on the task and teacher.
- Mirror activity: challenge and suspense continues during a brief follow-the-leader warm up.
- Freeze activity: students learn a basic and exacting skill that includes focus. Remind students to breathe and blink throughout the activity.

Step 3: Moving and freezing
The teacher should demonstrate what the students can touch when moving around the room safely (touching the floor, the air, their clothes). The teacher may also demonstrate and let them know that they can get close to objects (desks, chairs, white boards, etc.) and other students, but not touch.
Students practice freezing instantly and in perfect balance.
- Emphasis is on the skill required.
- Skill and excitement build as the voiced commands call for more vigorous movement and difficult freezes.
- Students achieve maximum freedom of movement within clear limits.

Step 4: Building statues
Divide the class into pairs of students with one playing the role of an artist and the other playing the role of a statue. Give the artists 30 seconds to build an interesting shape. Then ask all the artists to gather on one side of the space in order to get a clear view of all of the statues in the collection. Notice the various interesting positions and shapes created. The artists rejoin their partners and trade roles.
Extra Time: Try the artist/statue activity with an assigned title (connected to curriculum—“rain forest”, “geometric shapes found outside”, etc.)
Step 5: Cool down
Ask the students to return to the same warm-up spot from earlier in the class. Let students know that they will use the same warm-up/cool-down spots every day so it is important to memorize their spots. Have students return to their spots and put on their shoes. Once all shoes are on, ask students to help put the room back together.
You must be logged in to post a comment.