Step 1: Size and level
Warm up by talking about the concept of size and level: high (tall, reaching up, tiptoes) and low (on the floor; crouching, sitting, lying down), big (arms out, legs out) and little (arms in, legs in).
Call out body parts to be performed at high and low levels, large and small sizes. For example: reach up high and wide with your hands and arms, leap like a kangaroo, fly like a butterfly, creep like a bug, slither like a lizard, crawl like a spider.
Teaching Tip: Talk about how the musical accompaniment also reinforces size and level. How does a big shape sound? Little? Low or high?
Step 2: Types of shapes
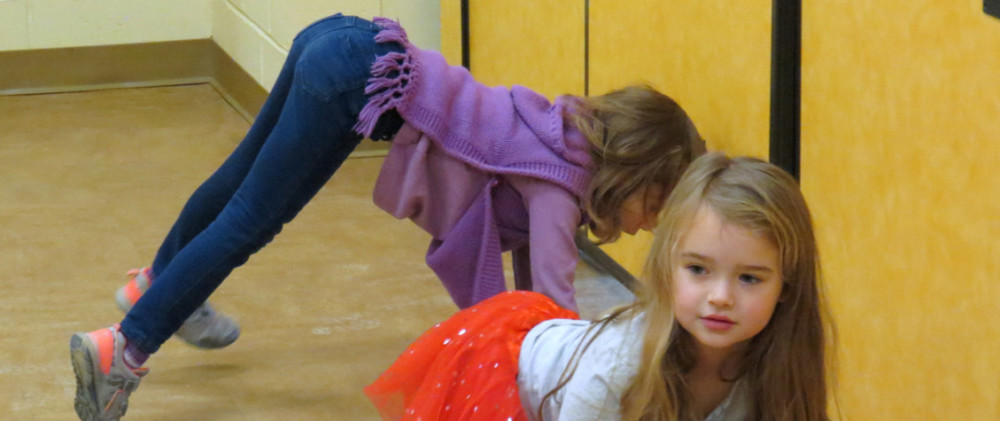
Introduce the concept of shape through a story book or images. Then talk about how shape can be achieved by positioning our body and parts. How can our body make shapes? Bodies can be curled, twisted, stretched, straight, curved, angular or zigzag, wide, or narrow.
Shapes come in different sizes (large, tiny, huge, little) and are found at different levels (high or low).
Model and have students imitate the following:
- Make a wide shape with your legs, then arms: “this is a wide shape.”
- Stretch into a narrow (thin or skinny) shape with your arms over your head: “this is a narrow (thin or skinny) shape.” *Choose which word is best for your students.
- Curl up into a ball: “this is a curled shape.”
- Stand on one foot, tilt over (or you can balance on one foot and one hand on the floor): “this is a balanced shape.”
- Stand with feet shoulder-width apart and bend forward, backward, and sideways. Use arms if you wish. “This is a curved shape.”
- Wrap your legs around each other, wrap your arms around yourself or sit criss-cross applesauce: “this is a twisted shape.”
Step 3:
To music, prompt students to create shapes in large and small ways and at different levels. For example, make a twisted shape at a low level, make a large shape at a high level, make a balanced shape at a medium level, make a tiny shape at a low level, etc.
Try playing the music loudly, and tell students their movement, shapes, and sizes should be large (levels can be prompted by you or you can let the students choose).
When the music is soft, their movement, shapes, and sizes should be small.
Lesson Extension: To demonstrate making shapes: Give students a lump of clay or aluminum foil to mold. Discuss and demonstrate making each of the following:
- a flat shape
- wide shape
- narrow shape
- coil
- pretzel or twisted shape
- a curved shape
- a ball
Students make the above shapes, one at a time with the clay or foil, before they make the shapes with their bodies.
Looking Ahead: For next class
Have a story ready for the class to use/retell through dance in the following 3–4 classes. Examples to consider:
“Rabbits Snow Dance” by James Bruchac and Joseph Bruchac
“We All Went on Safari” by Laurie Krebs
“The Very Busy Spider” by Eric Carle
“The Cicada and the Ant” retold by Pita Graham
or a storybook currently used in your classroom.