Step 1: Drawing lines and shapes

Give students a pencil and a graphic organizer with different spaces to draw lines and shapes. Draw a line and ask students to name it (zigzag, curvy, etc.) and draw that kind of line in the space provided. Repeat with various lines. Ask students to draw lines on their graphic organizers. Discuss and demonstrate open shapes versus closed shapes and their importance when drawing.
Model using lines to make a shape. Repeat with other shapes. Students practice drawing shapes on plain white paper.
Teaching Tip: Demonstrate steps before asking students to complete them.
Step 2: Discussion
Meet in a circle on the rug. Discuss using drawing to teach your readers along with writing.
Questions for students: Imagine the animal you have chosen. Think about the shapes that make up your animal. How can the basic shapes help you draw your animal? Think about the details. Does your animal have feathers, tail, scales, paws, fur, teeth, claws, wings, gills, eyes, ears, beak, feet? What shape/size? Model this process with your chosen animal.
Teaching Tip: What is an accordion? Some students may not know. Be sure to show or explain so they will understand the folds of their paper.
Step 3: Observational drawing
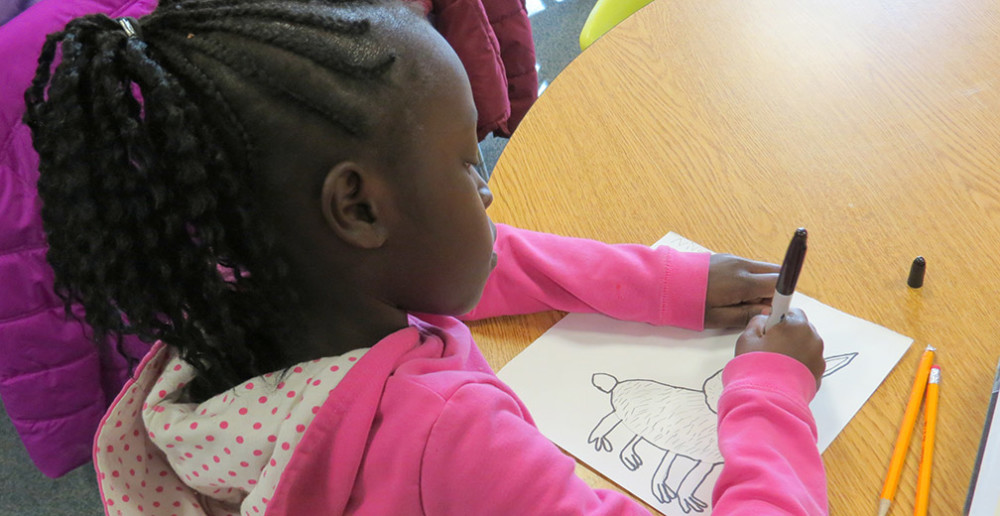
Ask students to draw their animal on pre-cut “puppet” paper. Use reference materials for close observation. Start with shapes. Then add details such as texture and colors. Encourage students to look closely and sketch lightly. When the drawing is done, they will use a permanent marker to outline the drawing and add color using markers or colored pencils.
> Resource: Video Tutorial: How to Drawn an Animal Using Shapes


Step 4: Reflect
Meet back at the rug. Discuss successes and challenges of the day. Ask: How will students address those challenges if they encounter them again?
Extra time? Ask students to zoom in on one smaller part of their animal and sketch only that part. “Can your classmate guess which part you drew?”
Looking Ahead: Ask students to think about one special feature that allows their animal to live in its habitat. This will be used to make a close-up drawing of their animal during the next lesson.
You must be logged in to post a comment.