SET UP: Once students are ready for plaster:
- Each table should be covered with newspaper for collecting plaster.
- Each table should have a bowl of water for dipping strips.
- Be sure to keep stash of strips away from the water. If they get wet prematurely, the plaster’s ability to stick is compromised.
Step 1: Planning the model
Divide students into four groups and assign each group a landform to create (groups could be based on how you assigned the landform research). Have each group use their landform drawings and research as material for designing a three-dimensional model. They will need to list the parts of the model they are going to create and specify which details and textures are necessary to include for accuracy. Have them draw their landforms, including all relevant details.
Plaster cloth resource: www.dickblick.com
Papier-mache resource: www.ultimatepapermache.com/paper-mache-recipes
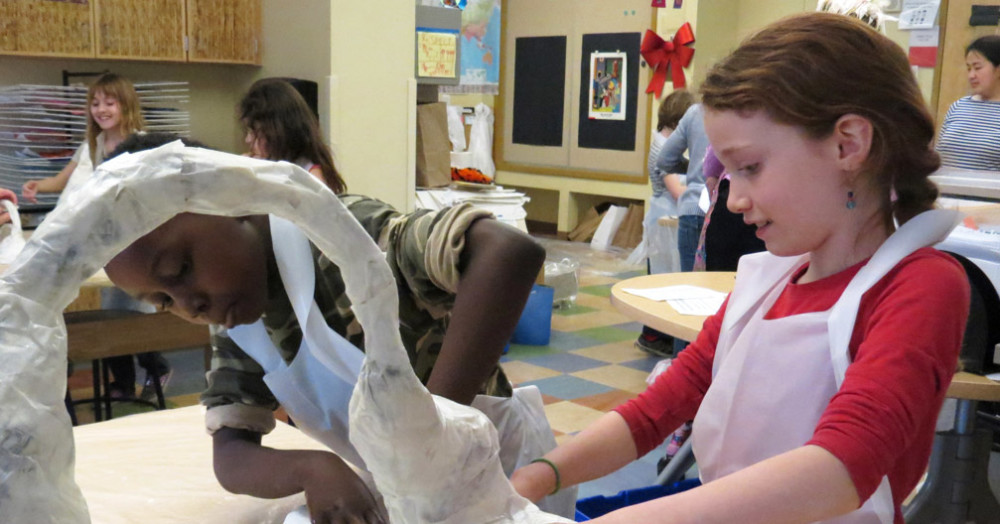
Step 2: Building the armature
Teaching Tip: Consider group work strategies for ways students can successfully work together. For example, assigning roles and responsibilities to each team member.
Students will use newspaper and masking tape—and recycled materials if they have them—to create an armature for their landforms. An armature is a simple frame used to support a sculpture that defines the shape of the finished statue. The armature also gives the plaster cloth strips something to stick to.
Using their drawings, notes, and knowledge of landform details, students will begin molding newspaper into forms that represent the general landform structure. The armature does not have to be perfect. Details will be added by building up the plaster strips in layers. The armature should be tightly taped so the plaster sticks evenly and securely. Once the form is ready for plaster, it should be secured with masking tape to a base of cardboard or wood.


Teaching Tip: Be sure to have aprons or paint shirts for students to wear. Some students may also want plastic gloves, depending on tactile sensitivity.
Step 3: Adding plaster
This step outlines the use of plaster cloth to build the sculpture. However, there are many recipes for papier-mâché paste if that is your preferred method (see the resource link above for more information). Plaster cloth makes for a strong sculpture and typically is purchased as sheets or a large roll. Be sure to cut the cloth into band-aid sized strips ahead of time for dipping into the water. Have students use their fingers to smooth the strips and push off excess water before applying to the armature. Students should add additional strips to any joints or weight bearing areas of their sculpture as well as the base where the wood or cardboard meet the sculpture. After each layer application, allow the sculpture to dry overnight.
Teaching Tip: Have lots of plaster strips cut ahead of time.


NEXT STEPS: Once two–three layers of plaster have been applied and are completely dry, the sculpture is ready to be painted. Before painting, make sure the structure is hard like a shell. Note: areas of the sculpture that are cold to the touch indicate wet plaster underneath. Once plaster is dry, go on to Lesson 4.
You must be logged in to post a comment.