Before you begin…
Using Google Maps, pin each student’s special place to create a customized map. Cut watercolor paper into 7”x7” grid pieces.
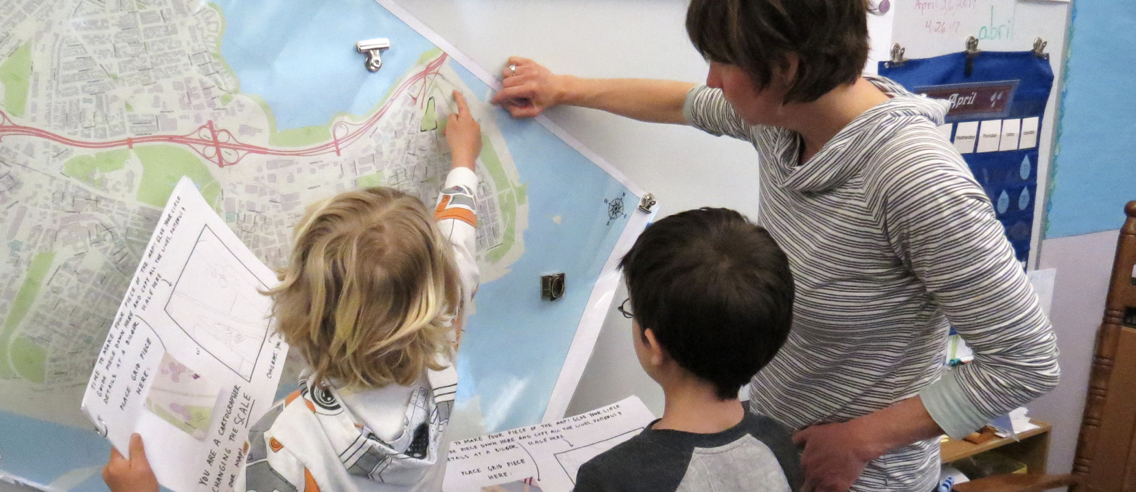
Step 1: Observe the map
-
- “How can we make a map of Portland? What if we divided it up into smaller parts and each person had one part—or section—to create?” Make a grid on the map with a dry erase marker that divides the map into 20 equal parts.
- Study the map with students. How are the streets shown? What color are they? What are the green and blue areas? How do the buildings look?
Step 2: Customized map
Go over the customized Google Map with the class using a projector and laptop. Discuss neighborhoods, city life, borders, roads, locations, or different interactions. Hover over each pin to help students understand spacial relationships, distance, and scale of their chosen places.
Step 3: Draw the map
- Print out a large map and cut it into pieces for distributing to students, or take a screen shot of each individual section and print them out for each student. Give each student a section of the map and a paper with a slightly larger box drawn on it. Have students draw their section in the box at a slightly larger scale. This is a first draft.
- When students have completed their first draft drawing of the map, they draw their final draft on watercolor paper with pencil. They will trace their lines with thin permanent markers and then erase pencil lines.
Teaching Tip: Add some fun to the maps! Students can draw trees, cars, a dog in the yard, etc.